Built-in storage: what you need to know
Planning to incorporate bespoke built-in storage in your home? Explore these clever joinery ideas
From sleek shelves to fitted cupboards, built-in furniture that slots perfectly into a space is an investment worth making.
Bespoke storage solutions will exploit tricky room proportions and dimensions, turning a negative aspect into a beneficial asset. High ceilings, awkward corners, lofts and staircases can all be transformed by clever joinery.
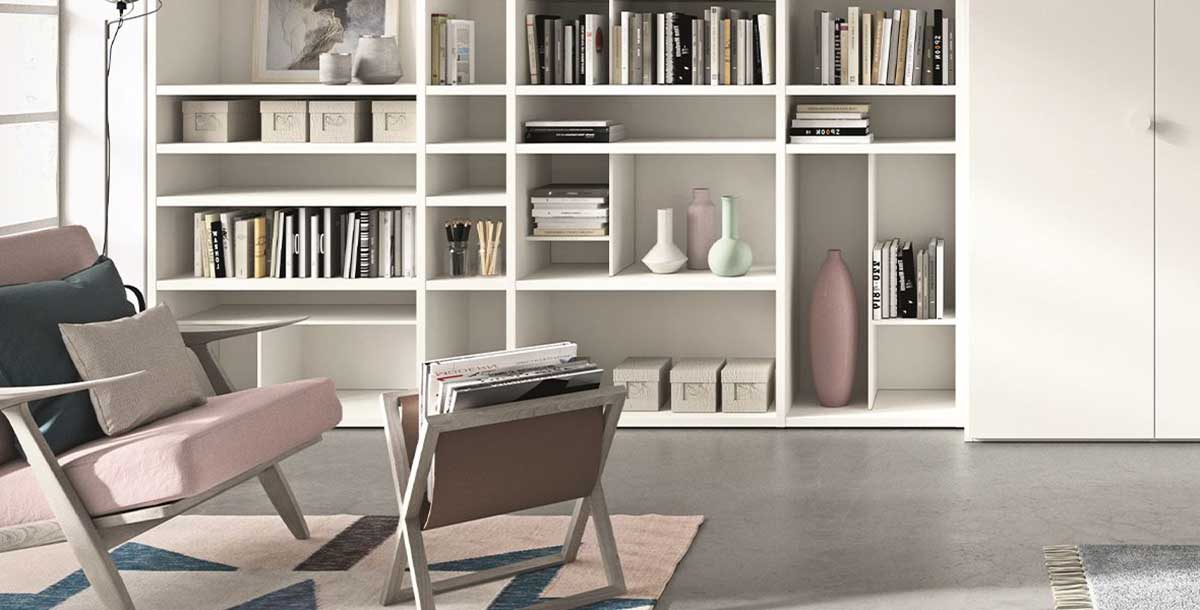
Built-in storage often enhances original features, such as alcoves on either side of a chimney breast or a window seat with storage beneath, or bookshelves incorporated into a staircase to link two or more levels. Designs can be built right up to the ceiling to make use of all your space. For example, a run of cabinets can incorporate and hide unsightly elements, such as boxed-in pipework and pillars.
While the pros outweigh the cons, consider whether you are likely to want to make significant changes in the future, as this may involve calling in a tradesman to remove the furniture and make good walls. It is an obvious point, but it is not possible to take built-in furniture with you if you move, so if you aren’t planning to stay in a property for long, you might not want to invest in expensive joinery.
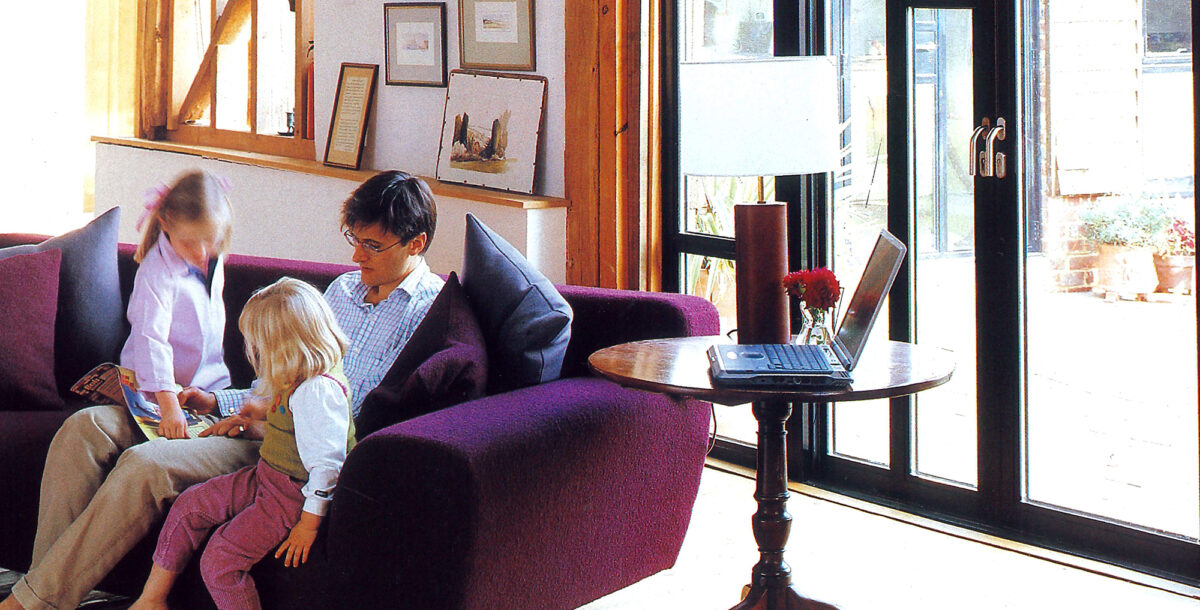
That said, good storage will always add value to your home and is something that future buyers will be looking for. For example, the space beneath the stairs is often underused but can be transformed by a retrofit storage solution. If you’re building a new staircase it’s an opportunity to design stairs and storage that work seamlessly together.
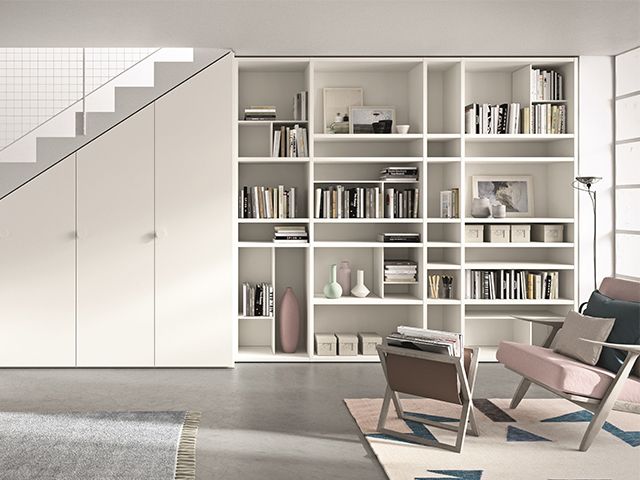
Photo: Go Modern
What is bespoke built-in storage?
Engaging a joiner or furniture maker to produce a specially made design can work in different ways. It might involve modifying an existing piece to change details such as its dimensions or the finish. Or it could instead mean commissioning something entirely new.
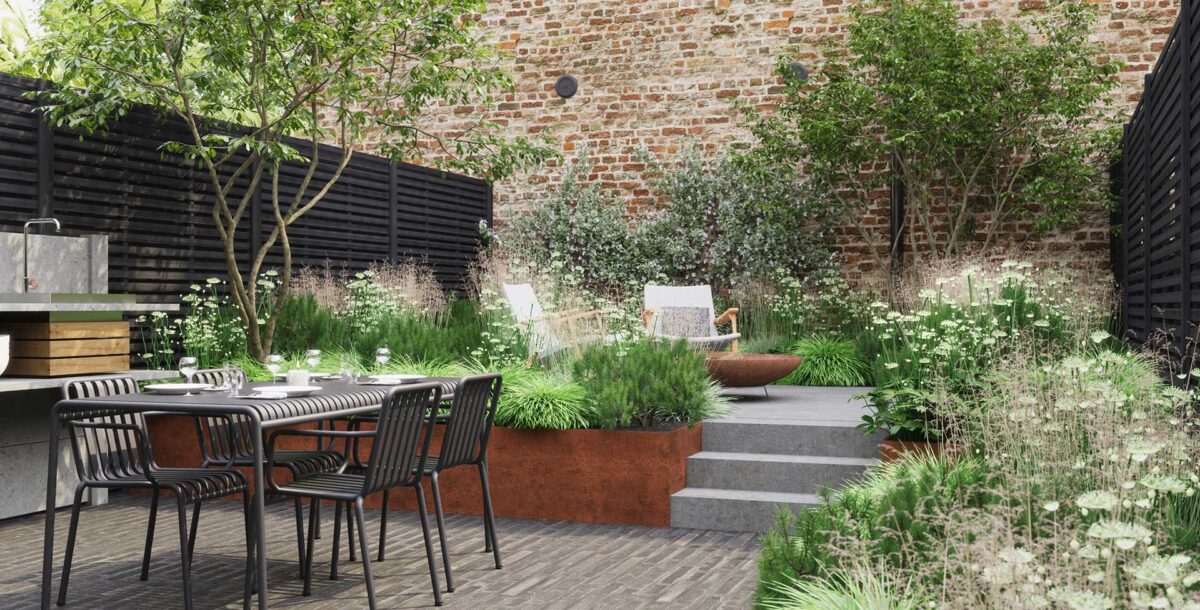
In terms of design, construction and detail, bespoke furniture and fittings command a premium price but you will end up with something completely unique, made to your precise requirements and that fits seamlessly. Alternatively, there are less expensive options such as custom-made modular furniture ranges that can be fitted to your space.
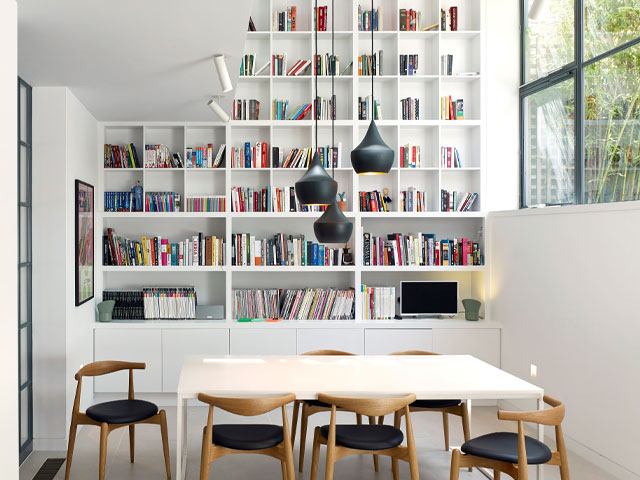
Photo: Stiff + Trevillion
What’s the cost of built in storage?
Who makes your furniture, the style, materials and finishes will all have an impact on price. For a simple, custom-built design in softwood or MDF, you can expect to pay anything upwards of £300 per square metre if you’re using a small, local joinery firm.
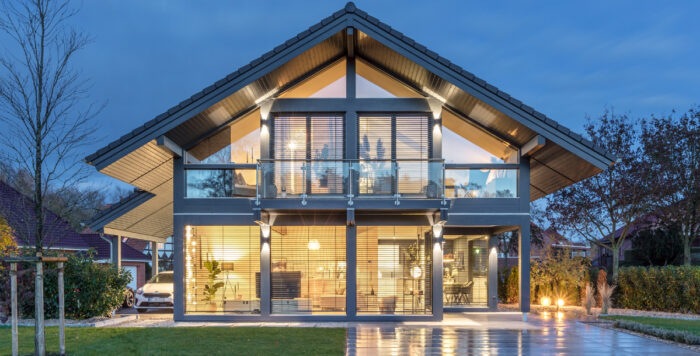
Cabinets in hardwood, special lacquers and finishes, panelled doors, elements such as the number of drawers and extras like hand-painting, decorative shelving, mirrors and lighting will escalate the costs and you may find yourself paying more than £1,200 per square metre.
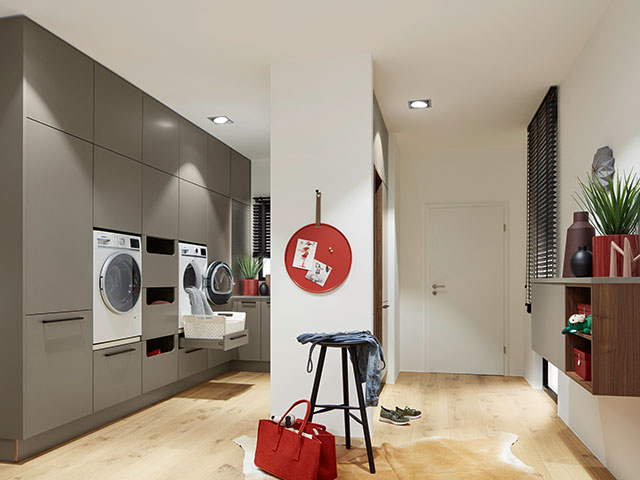
Photo: Nolte
Does built in storage add value?
Yes, adding built in storage will increase the value of your home. Any built in furniture, cabinets and shelving will maximise the amount of space to home items. This will in turn increase the appeal to future buyers and increase the overall value of the property.
Built in storage will also help to create a sense of style for a home, as it can enhance the existing design. Additionally, built in storage is usually crafted with better quality materials than ready-made furniture, which is more appealing to future buyers and longer-lasting.
Finally, built in storage is permanently placed within the home. This means that any future buyer won’t need to purchase any extra furniture to make the home feel like their own.
How to create better storage with a built in wardrobe
Whether self-building or extending, assess your storage requirements at the planning stage of your project. Think about what you will be using it for, how much space you need and whether you want the furniture’s design to stand out or blend in with your scheme.
Do you want to keep things out of sight, on display or have a combination of both? Your architects and/or interior designer can liaise on your behalf with furniture makers. Of course, you can directly brief a joiner, furniture maker or custom-made furniture company. If you choose the latter, most of these firms offer a design service, where someone comes to your home to show you samples, measure up and discuss possibilities.
A built in wardrobe is a great way to maximise storage whilst complementing your space with a tailored solution that’s a perfect fit to your home. Unlike a standalone unit, a built in can fit the awkward corners, sloped ceilings, and alcoves to ensure underused areas are transformed into functional storage.
A built in wardrobe also means you can tailor the internal layout to suit your personal needs. For example, if you need extra hanging space for clothing, or shelves to hold folded items and drawers for accessories, this can all be specifically catered for in the design. The level of customisation ensures ensures that none of the space is wasted.
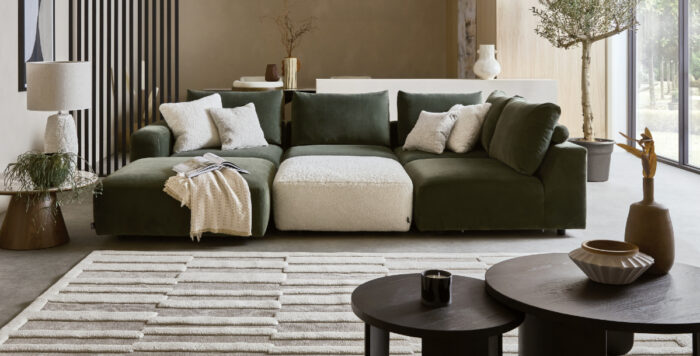
A built in wardrobe isn’t just a storage solution though, it will enhance the look of your whole room. They give off a polished, seamless appearance that just isn’t possible with freestanding furniture.
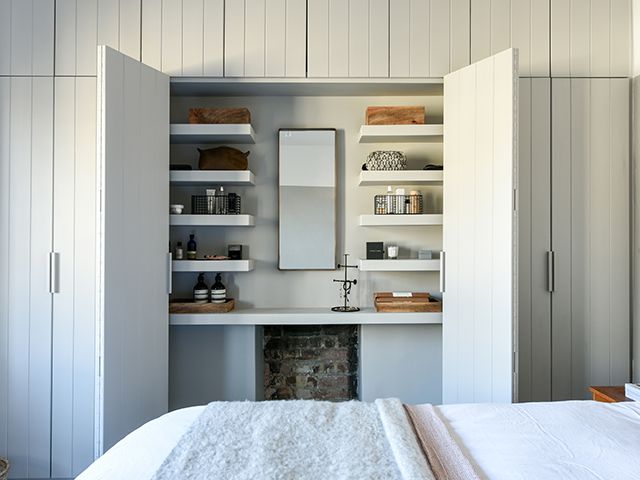
Photo: All & Nxthing
How to build a built in bench seat with storage
A bench seat is a great way to enhance your storage. It keeps things hidden away, while not taking up any extra space in your room.
They can work well in gardens, but also in your living room or dining space.
Measuring up
To begin building one, you’ll need to measure and cut the plywood for the seat. Measure the desired dimensions, and mark them on the plywood sheets but make sure to measure twice and mark the lines clearly to avoid any mistakes during cutting.
Place the plywood on a stable work surface and if needed, use clamps to secure it for stability if needed. Guide the saw along the marked lines.
Then use sandpaper to smooth the rough edges of the plywood pieces to create a professional finish.
Assembling the base
You then need to assemble the base of the bench seat. Take the longer plywood pieces that will be the sides of the seat, make them parallel to each other with the cut edges facing upwards. Then, measure and mark the desired height for the bench seat.
You’ll then need to attach the shorter plywood pieces as connectors between the two longer pieces, these will support the bench seat. Repeat this process for the opposite side of the bench seat.
Once the base is assembled, reinforce the joints with wood glue for added strength and durability.
Putting together the back rest
Putting together the back rest of the bench seat is the next step. You’ll need to measure the height and width of the back rest. Be sure to take into consideration the dimensions of the bench seat and your preference. Then, cut the plywood for the back rest according to your measurements.
Take one of the plywood pieces for the backrest and position it vertically against the back of the bench and align it with the top of the bench seat base.
Attach the back rest to the base using screws, and drill pilot holes before driving the screws to prevent the plywood splitting. Make sure to put the screws at regular intervals to ensure a secure attachment.
Attach the back rest to the base using screws, drill pilot holes before putting the screws in to prevent the plywood from splitting. Place the screws at regular intervals to ensure it attaches securely. You can also add additional support by attaching wooden blocks to the back rest and base frame to prevent any wobbling.
Installing the storage compartments
The storage element of the bench is crucial for making it a functional use of space.
First you’ll need to measure the dimensions of the space inside the bench seat that you want to place the compartments. Then, cut the plywood pieces to act as dividers for the compartments and position them inside the bench seat to make sure they fit securely. Attach the dividers to the base using screws or wood glue, and make sure they are fastened securely.
Consider adding shelves or other compartments within the larger storage space, measure and cut the necessary plywood for this. You might also want to install hinges on the front panels of the compartments to allow you to easily access the contents and ensure they are hidden when the seat is shut.
Attach the seat cushion
The final step is to secure the cushions to the bench seat. This will add comfort and enhance the look of it, particularly if the bench seat will be placed indoors.
To secure the cushions you’ll need to measure the bench seat to determine the size of the cushion required. Purchase or make a set cushions that fits the dimensions, then place it on top of the seat to ensure if fits properly.
If desired, you can then secure the cushions to the bench using hook and loop fasteners or adhesive strips. This will prevent them sliding or shifting when in use.
What sort of storage can be built in the loft?
Our loft spaces often have a lot of nooks and crannies that can be tricky to find freestanding storage to fit.
If you’re planning a loft conversion to further utilise the space, built in storage could be the answer to making the most of your new areas. Whether your loft has sloped ceilings or awkward corners, a custom-built wardrobe, desk or cupboard can ensure you maximise every inch. You could also consider putting floating shelves or built-in cabinets to keep your items organised up there and clutter free.
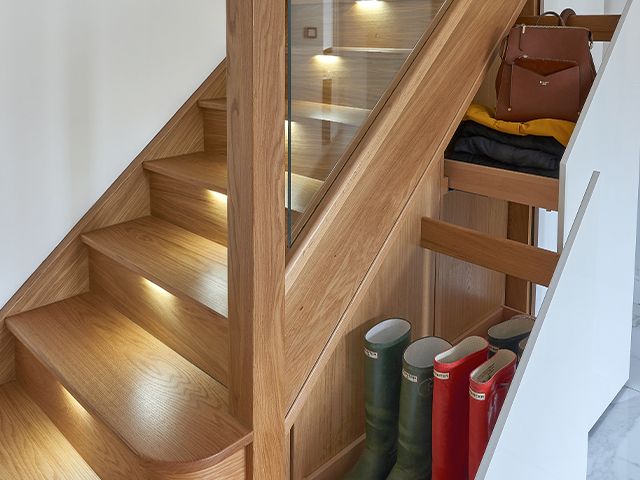
Photo: Jarrods Bespoke Staircases
READ MORE