Loft conversion guide
A raft of benefits come with adding a loft extension, from transforming underutilised space into a habitable room, to adding property value and increased energy efficiency.
With space at a premium in many UK houses, extending upwards with a loft conversion can add both much-needed useable room and significantly increase the value of your home. However, there’s several things you’ll need to consider to make sure your home is suitable for a loft conversion and that it meets current requirements including:
- Check the height of your loft space – Building regulations require a minimum height of 2.4 metres to make a loft habitable. Measure from the floor (or top of the joists) of the loft to the highest point of the roof to work out the height. If you don’t have the available height, you can raise the roof, but this is costly and will require planning permission. You can also lower the ceilings below, although this can be expensive and depends on how much height you have below.
- Check your roof pitch – Referring to the steepness or slope of your roof, different houses will have different pitches. The minimum pitch for a roof conversion is 30 degrees. Roof Online has a handy calculator to quickly work out your roof pitch.
- Check your roof structure – Traditional roofs are typically made with rafters and purlins (a purlin is the horizontal beam that runs perpendicular to the rafters and provides additional support), and are relatively easy to convert. Truss roofs with W-shaped rafters are typically harder to convert, but they can be changed to an A structure to afford more space.
- Check your foundations – Loft conversions will add significant weight to the foundations of a house, so check the load-bearing capacity of the existing structure. You may need to speak to a structural engineer about adding structural beams, reinforcing the floor joists or underpinning the foundations.
You’ll also need to look into whether there are any obstacles that could cause potential issues later on in the build, such as chimney stacks that might need to be moved or large water tanks.
Additional building regulations that you’ll need to adhere to include using entirely fire-resistant materials, having a suitable fire escape route and fitting smoke alarms. Your thermal insulation will need to meet energy efficiency standards and soundproofing is required between the loft and the floors below.
Ventilation is also imperative to eradicate damp and stop condensation, using options such as airbricks for continuous airflow, windows for fresh airflow and trickle vents within the windows for controlled ventilation.
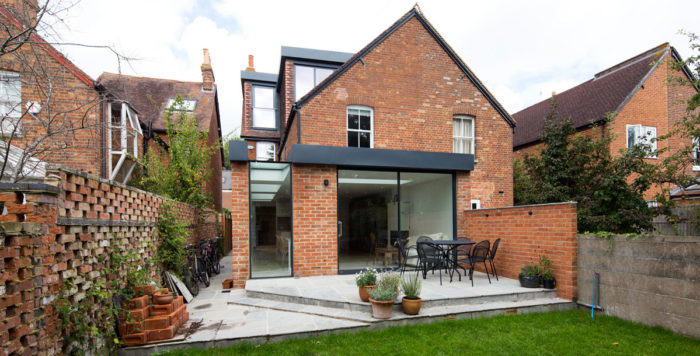
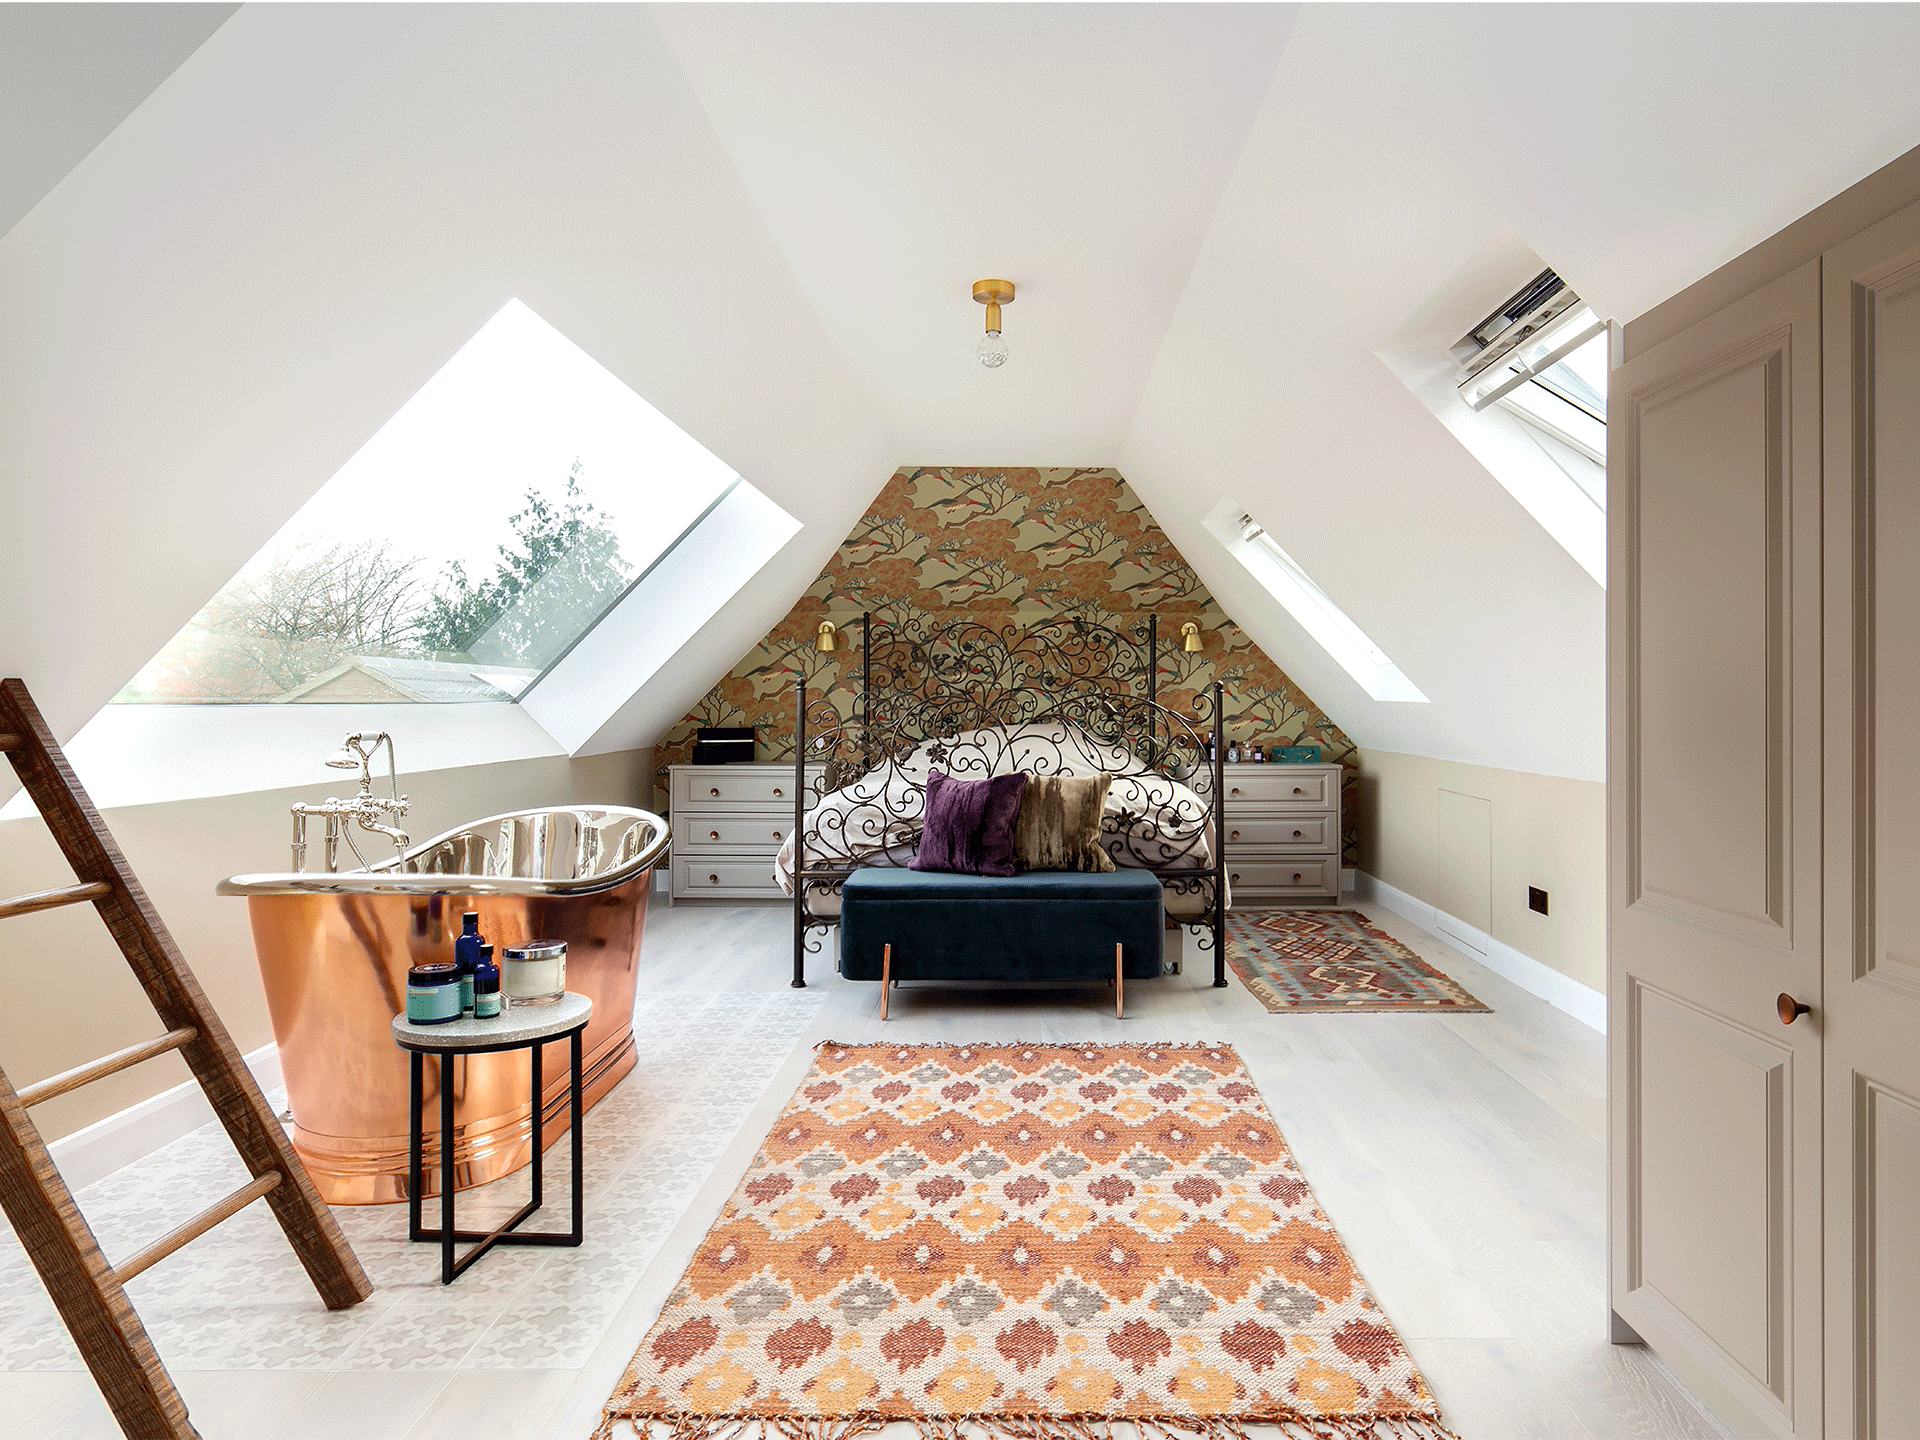
Image credit: Gianluca Maver
Will you need planning permission?
In many cases a loft conversion can be done within permitted development rights, which are set to out to allow homeowners to make routine modifications to their property. However, this is only applicable if you have not already used your planning development rights to add another storey.
If you want your loft conversion to fall with permitted development rights (PD), Planning Portal state that the “Volume of enlargement (including any previous enlargement) must not exceed the original roof space by more than 40 cubic metres for terraced houses; or 50 cubic metres otherwise” and that “Side-facing windows must be obscure-glazed; and, if opening, to be 1.7 metres above the floor of the room in which they are installed”.
The loft conversion must also not include a balcony, veranda or raised platform and make no alterations to the roof that extend beyond the existing plane of the roof at the front of the house. You should also use materials that are in keeping with the existing appearance of the house.
Instances when loft conversions will need planning permission include if you live in a conservation area or a listed building, if your conversion exceeds the 40-50 cubic metre limit or if you will be making significant changes to the roof height and shape.
To give you peace of mind that you have all the correct permissions in place you can apply for a Lawful Development Certificate, which can also be beneficial for if you want to apply for any other planning permission in the future or plan to sell your house.
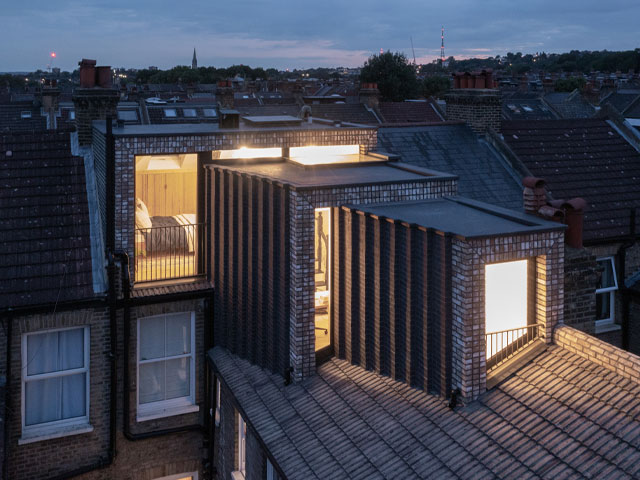
Image credit: Luke O’Donovan
Raising the roof or lowering the ceilings
Bespoke Lofts explain that “Raising the roof is a common way of creating extra ceiling height within a loft conversion. Once you know if planning permission is a possibility, your contractors will need to remove part of the existing roof structure and rebuild it in a design which allows for the additional head height. This could be as a dormer loft conversion, for example.”
“Alternatively, it may be the case that the entire existing roof needs to be removed. A ready-built room inserted into the space, such as a mansard loft conversion, is essentially an extension across of the whole of the loft space.”
If raising the roof cannot be done, then Bespoke Lofts explain that lowering the ceilings could also be a possibility. “An example is when the property is a listed building or if your local authority planning department has an outright ban on raising the roof.”
Bespoke Lofts says, “This is a viable proposition, especially in older properties which often have high ceilings. It is, however, a highly technical process and one which a loft conversion specialist will need to undertake for you. The ceilings in the storey below will need removing. A plate will have to be inserted at the appropriate level for the new floor to be added above. Next, the new floor can be constructed and the ceilings below reinstated. This can also help when incorporating a stairway which needs to comply to ceiling height restrictions.”
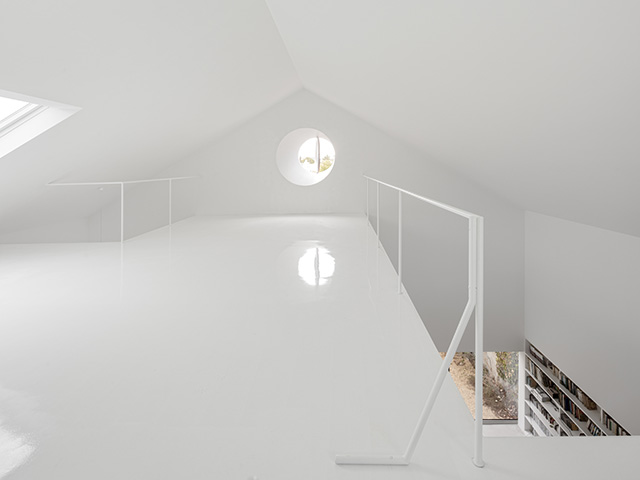
Image credit: Fernando Guerra
Can you do an L-shaped loft conversion?
Yes. L-shaped loft conversions are entirely possible, and usually involve extending two parts of the roof to create an L-shaped configuration. To create two separate, yet connected spaces, an L-shaped loft conversion (sometimes known as a dog-leg dormer) usually combines two dormer extensions, one to the rear of the property and one on the main roof slope.
An L-shaped loft conversion is a great option if your property has already had a rear extension. Victorian and Edwardian homes often have an existing rear projection called an outrigger. Add the combination of their typically generous floor plans, substantial roof heights and robust brickwork and timber framing makes them the ideal property type for an L-shaped roof extension. A L-shaped design has further benefits, as you can divide the space into two rooms, for example a bedroom and a bathroom, adding functionality and value to the house.
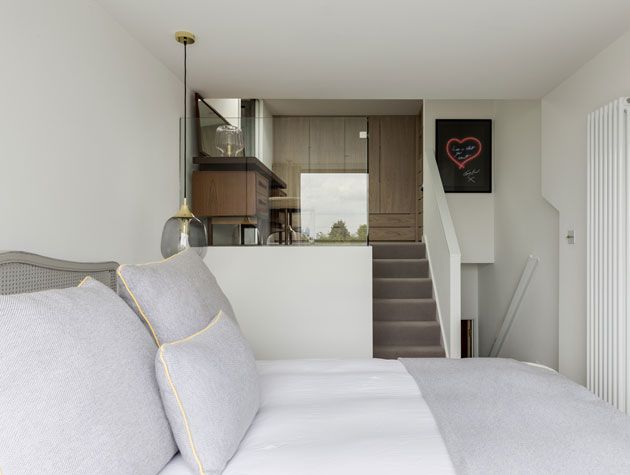
Image credit: Rees Architects
What are the best windows for a loft conversion?
Choosing the right windows is crucial for a loft conversion, for both letting in the maximum amount of natural light and increasing ventilation in the space. Dormer windows are the most common window type for a loft conversion. A dormer is the structure that protrudes out from the slope of a roof and a dormer window is set within it. There’s a variety of different types of dormer window you can go for, including flat roof dormer, gabled dormer, hipped dormer and shed dormer. Dormers are great for adding space to a loft conversion and are particularly great when the pitch angle is high.
Rooflights and skylights (sometimes called Velux) are also a great window option for a loft conversion as they follow the existing roofline. ODC Glass explains that “Rooflights come in standard sizes, but it’s worth having a conversation about bespoke rooflight dimensions to bring strong design and a wealth of light to your new room. Surveyors will calculate the optimum glazing to ensure your new space is comfortable all year round.”
They add that you should “Choose rooflights with slimline frames and the highest U-values for an energy efficient, contemporary look and aim for windows that glaze 20% of roof space either by a series of evenly spaced windows or one large window.”
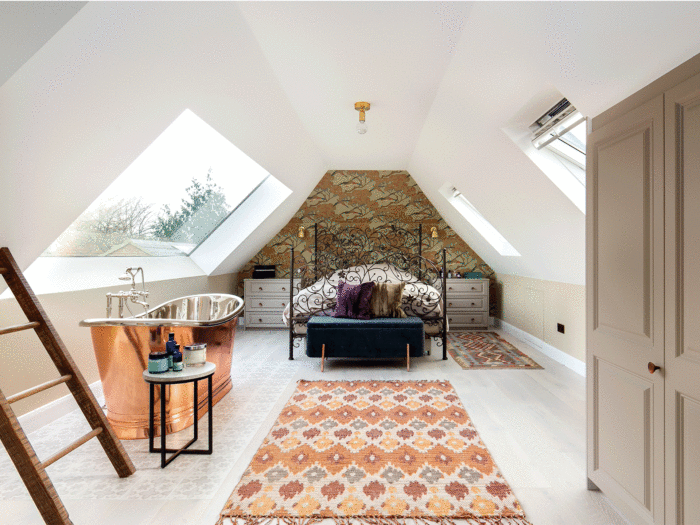
Image credit: BC Design
How to add shutters to a loft conversion
Sam Tamlyn, Managing Director at California Shutters explains that “In loft conversions maintaining a good temperature in the room is essential as well as shutting out the light when you need. With no slats, solid full-height shutters are an ideal solution as they offer a near blackout result, perfect for keeping the light at bay whilst offering total privacy. Solid shutters are also easy to self-install and complement almost any interior scheme, especially elegant interior decor with a more traditional feel.”
“Windows are a major source of heat loss in the home, therefore one practical solution to help with heat insulation is to fit bespoke window shutters. The correct size shutter can prevent over half of all heat lost through windows, keeping cold draughts under control even in older houses. Incorporating any style of shutter in a space will help with warmth, but solid wood panel shutters especially are the most effective as they aren’t louvered” says Sally Denyer, Digital Marketing Manager, Shutterly Fabulous. She adds that “If you’re struggling for light in a small bedroom, tier-on-tier or café shutters are a fantastic option as they provide you with the opportunity to let daylight still stream into the bedroom whilst offering complete privacy.”
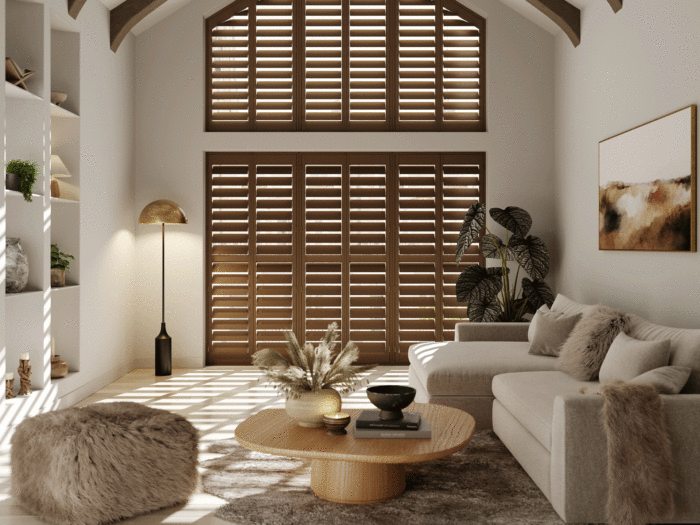
Image credit: Shutterly Fabulous
Where should you place a staircase?
Placing your staircase in the right position in a loft conversion is crucial in your build (and one of the most common reasons loft conversions get failed by building inspectors). Simply Loft say “Typically, the best location for the staircase is above the existing staircase. However, this is not always possible. It depends on the existing room layout and the existing slopes of the roof. Sometimes, the floor beneath the loft will need to be reconfigured.”
Bear in mind that building regulations state that there should be no less than a headroom of two metres above the pitch line (the steepness of the staircase angle). Your loft stairs must meet fire safety standards and have a fire safe door.
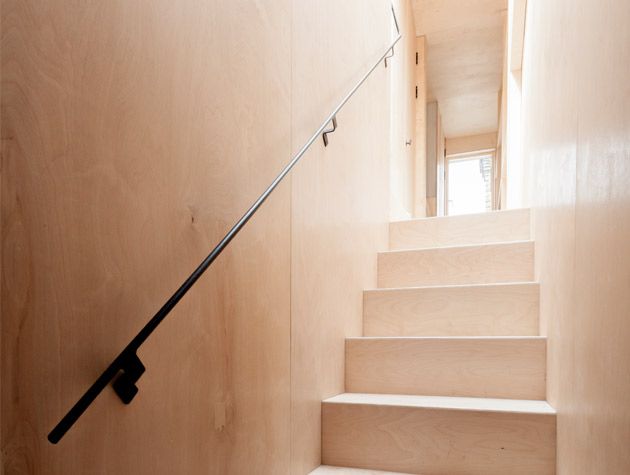
Image credit: Nicholas Worley
How to add a bathroom to a loft conversion
Barrie Cutchie, Design Director at BC Designs, explains: “Choosing to add a bathroom to your loft conversion can add that much needed second bathroom, which can be a game-changer when it comes to busy home environments with several people trying to use the same bathroom in a morning or evening.
If you do decide to choose this route, there are several things you’ll need to consider such as plumbing, water pressure, heating, natural light and how to get the products up to the third floor. With plumbing, the cheapest and easiest way is to make sure your new bathroom sits over the top of an existing one. It makes running pipes and soil pipes much easier.”
“You’ll need to check your water pressure. Adding in an extra floor means water has further to travel upwards which can cause issues. This can easily be alleviated by installing a pump to generate water pressure: you’ll need to know before plumbing things in whether a pump is required, and which one if so.”
“Lofts can often have tricky angles to navigate. Consider placing your bath under the eaves as it makes great use of the restricted head height, freeing up space for showers if the room allows,” continues Barrie. “Choosing a smaller footprint bath (anything around the 1500mm mark or under is perfect), can also provide a feeling of space without having to compromise on a long, luxurious soak.”
“Other clever design hacks include using pocket doors that slide back into the wall can help to save on precious inches by doing away with the need to allow space for a door to swing outwards or open inwards into the bathroom.
“Finally, think about how you can make the best use of space. Smaller fitting and having shelves built in the eaves can help you to make the most of every nook and cranny.”
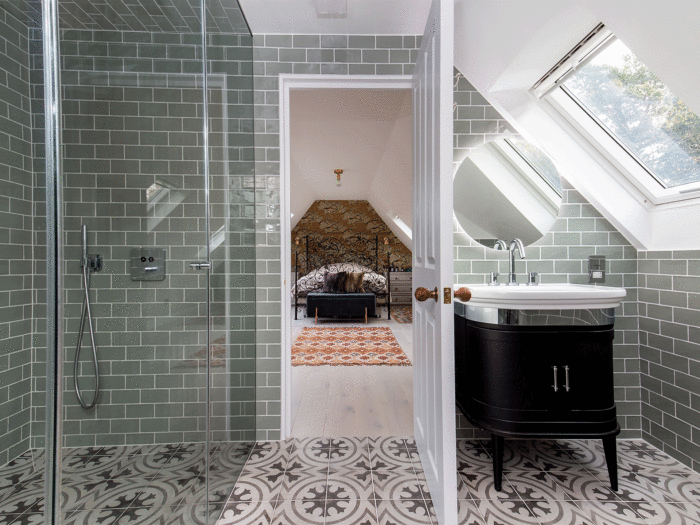
Image credit: BC Designs
Insulation considerations for a loft conversion
When it comes to building regulation compliance, energy efficiency and all-round general comfort, getting your loft conversion insulation right is key, especially given that a quarter of heat escaping from a home does so through the roof. Consider the thermal performance of all materials you install, looking at the U-Value, the rate at which heat is transferred through the wall, window or roof and K-Value, a material’s ability to conduct heat.
Choose between a warm roof insulation (great for pitched roofs), where insulation is placed above the roof rafters and beneath the roof covering, or cold roof insulation, where the insulation is placed between the ceiling joists. A hybrid of the two types is ideal for enhanced thermal performance. Don’t forget the floor when it comes to insulation. Simply Loft explains these check points to consider:
- The floor should be insulated to a depth of 50mm
- A layer of eco-friendly loft insulation should be placed between joists at least 25mm deep
- A layer of thermal barrier/warm roof covering should be placed over your existing roof covering
- An additional layer of eco-friendly loft insulation (about 25mm deep) should be laid directly on top of the chosen material and covered with plywood or OSB (oriented strand board)
- If you plan to install a bedroom in your loft, then these requirements need to be increased by about 20%
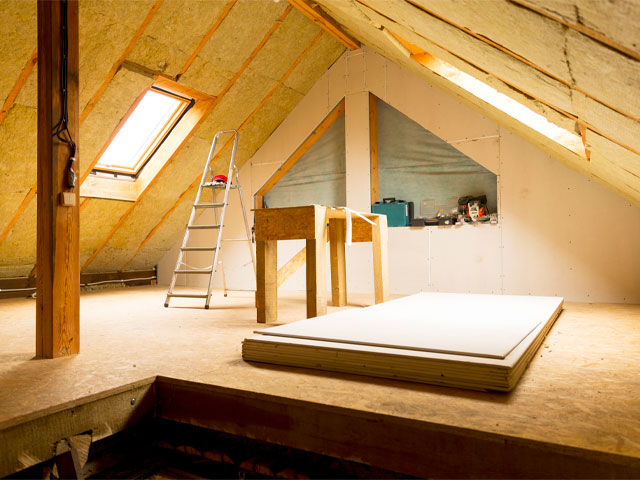
Image credit: Artursfoto/Adobe

